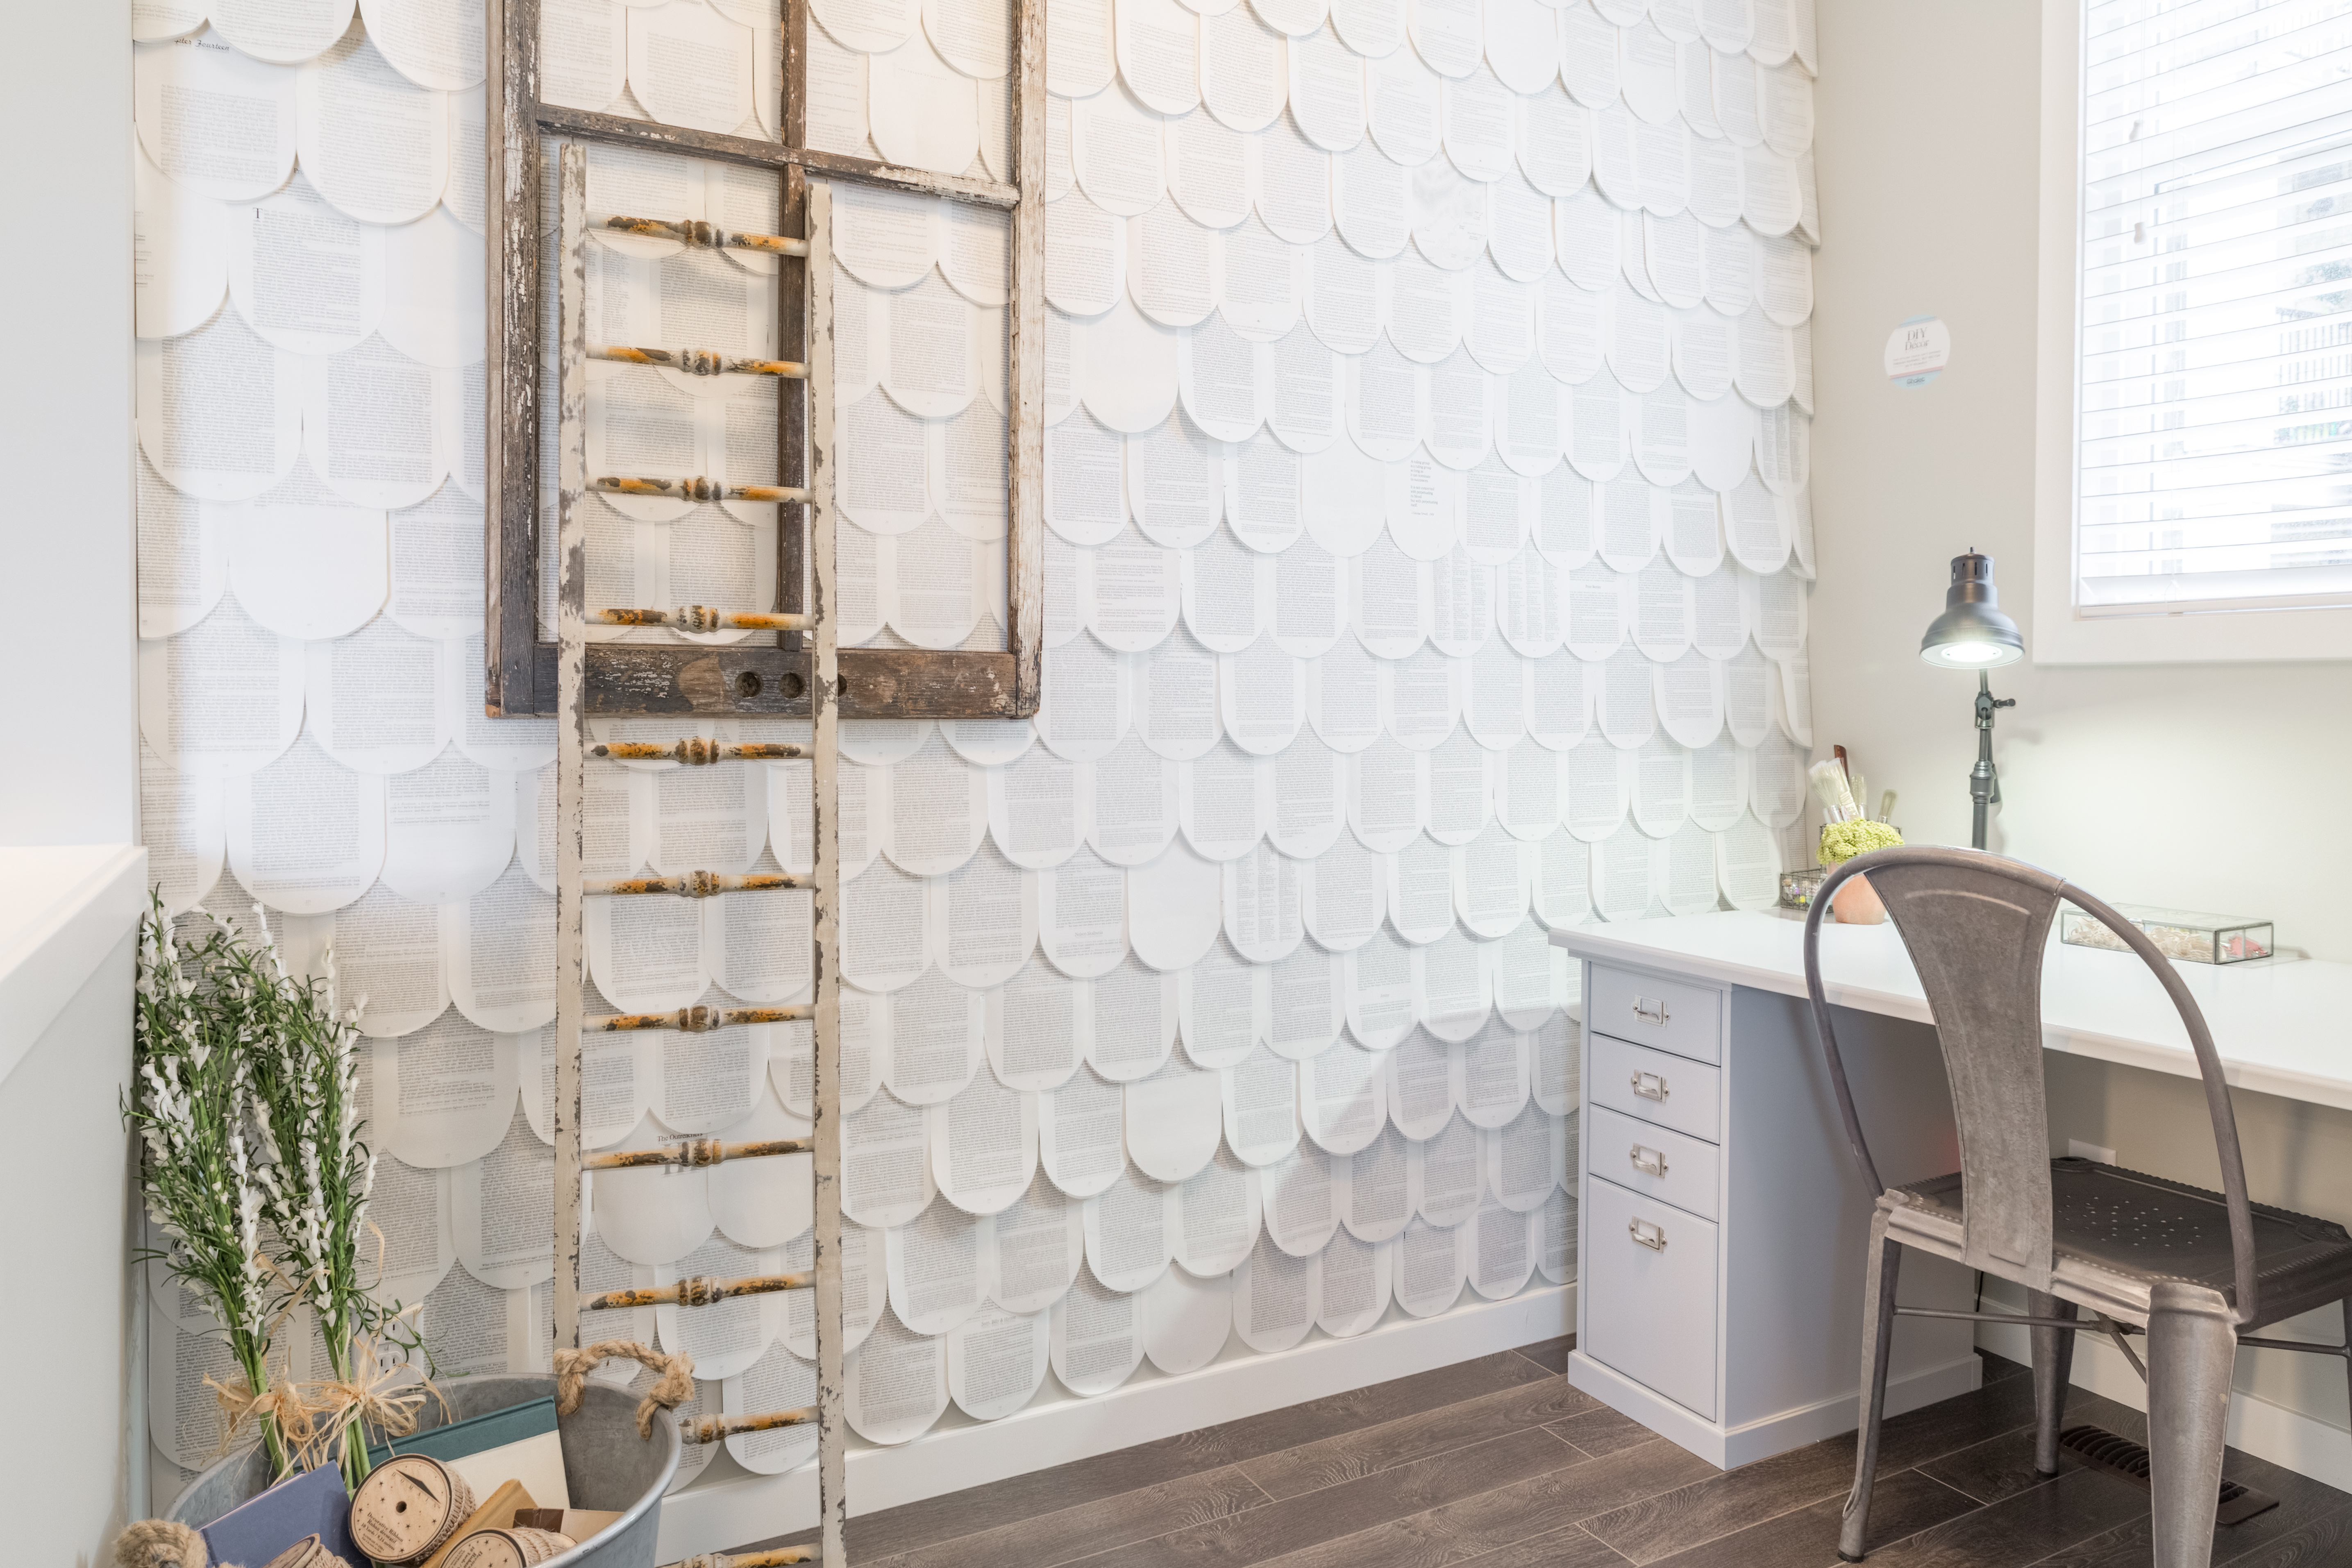
A Book-inspired Feature Wall Adds a Touch of Whimsy
In our new Chalet E Plan show home in Copperfield, our designer Caprice Chrisholm created this whimsical scalloped paper feature wall from a favourite book collection in the home’s tech room. Here’s how she did it.
- Find a novel or book of poetry that you love in a second hand bookstore. A hard cover with heavyweight pages works best.
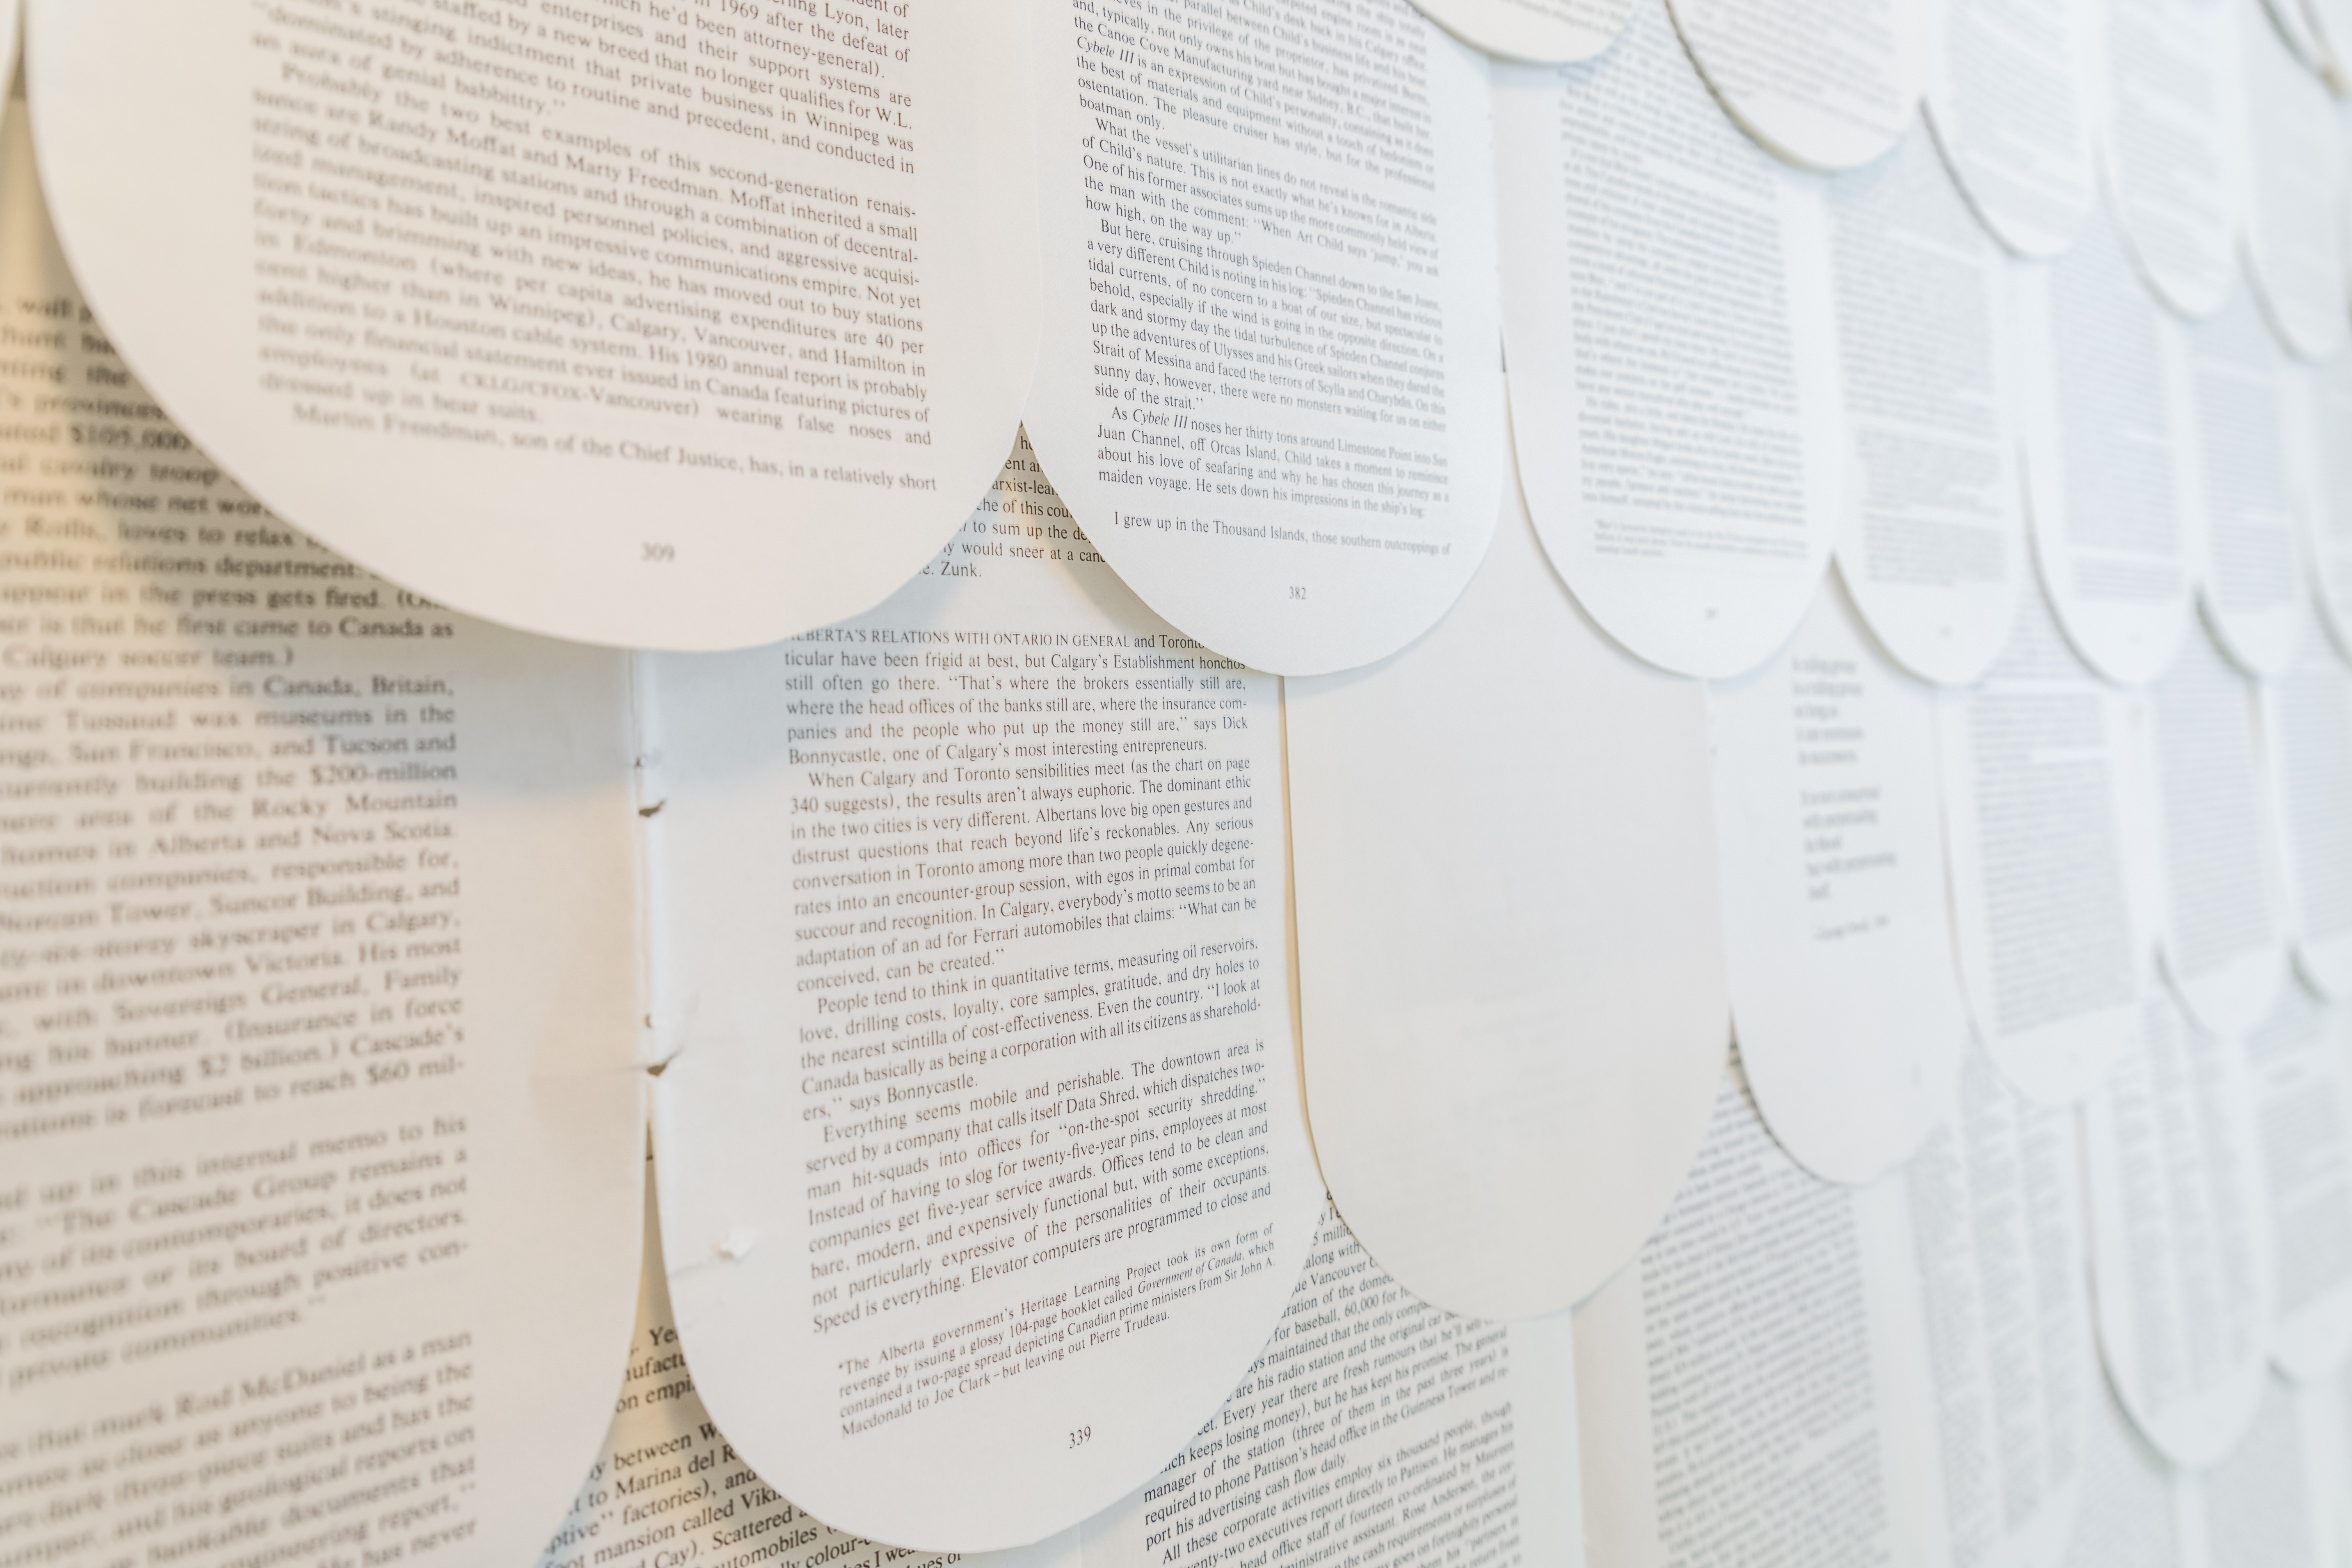
- Separate the pages from the spine and then place an inverted bowl over the bottom fringe of an individual page and lightly trace a rounded edge with a pencil.
- Cut along the pencil marking, using a pair of sharp scissors to create a scalloped edge. Use this sheet as a template, placing on top of the other pages and cutting a matching scallop on each.
- Decide how you would like the pages to read – maybe randomly, maybe as a chapter or series of chapters. Lay out the pattern in order from left to right and top to bottom. If you just want to randomly display the pages, this step is not necessary.
- Measure the book page from the tip of the curve in the scallop to the top of the page. Using a level and a pencil, draw a horizontal line across the feature wall, equal to the length of the page. For example, if the page measures 8 inches from top to bottom, then mark the wall with the level 8 inches from the floor or top of the baseboard. You’re now ready to begin the pattern.
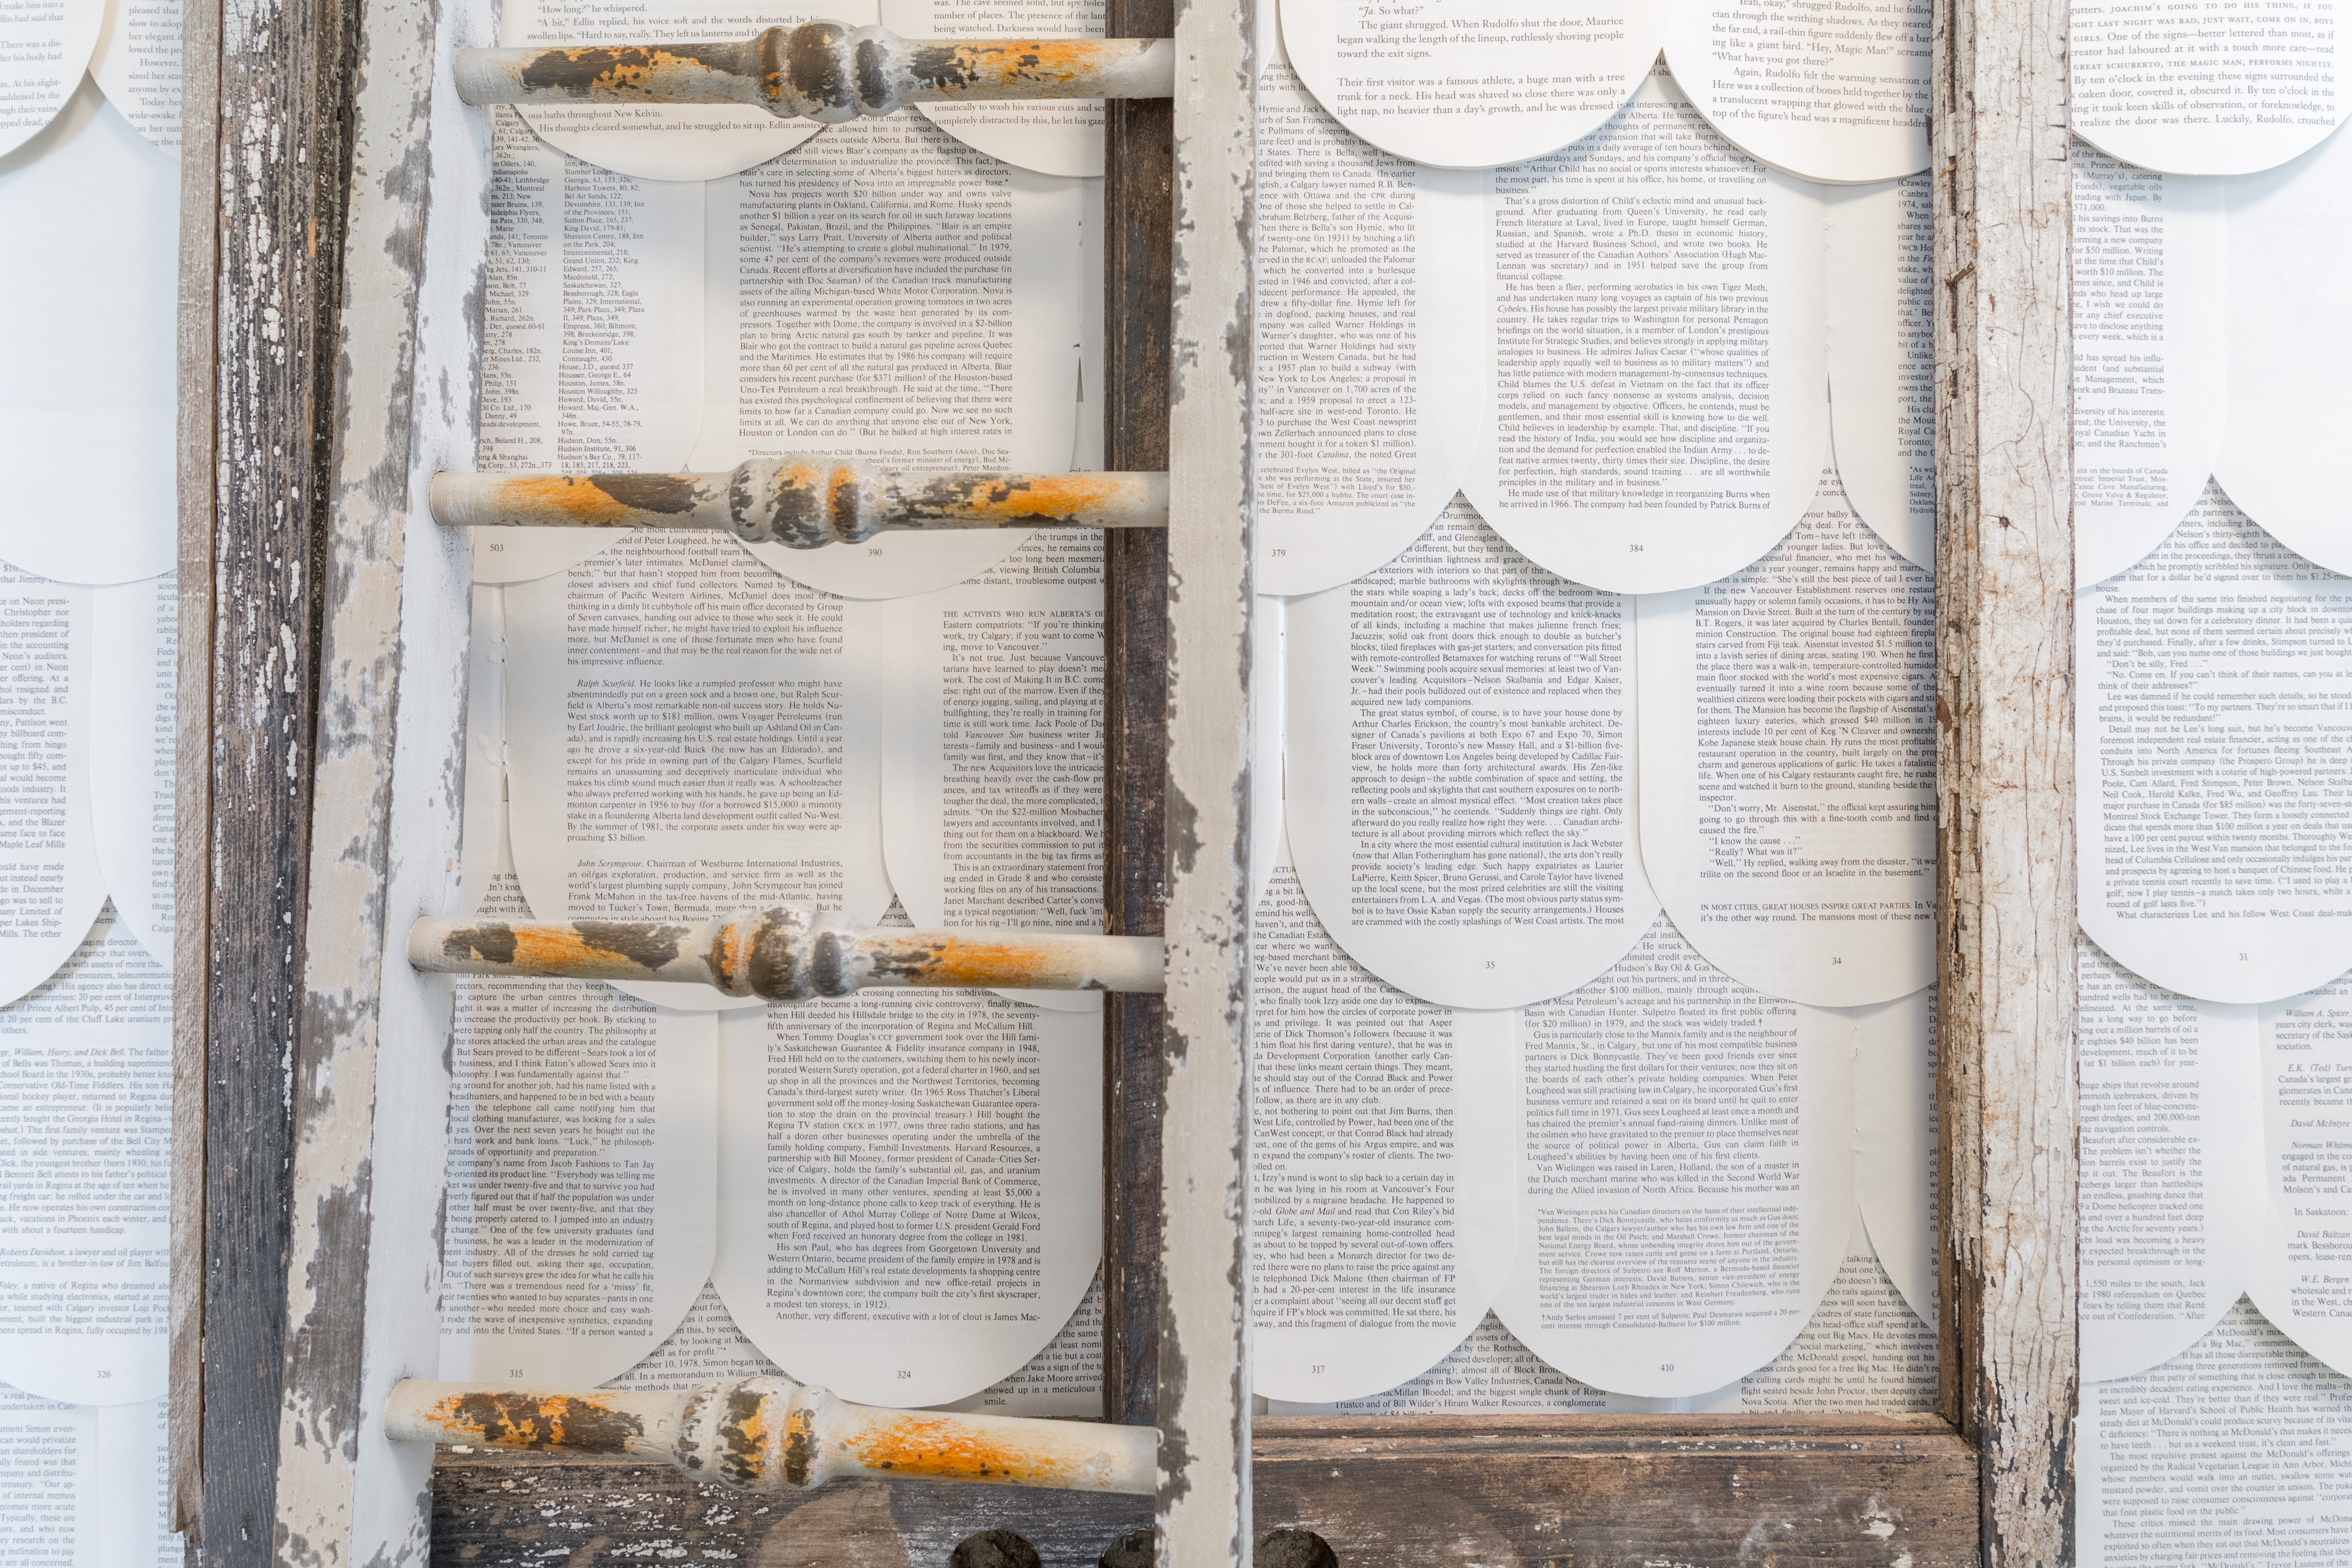
- Staple. Start in the bottom left hand corner of the wall and attach the first page with a staple gun, stapling on the upper left and right corners of the page. Continue the pattern across the wall, ensuring that each page sits tightly against its neighbour, with no gaps.
- Begin the second row in pattern so that the pages horizontally overlap each other by approximately 2”. If your page measures 8” from top to bottom of scalloped edge, you will want to draw horizontal lines with a level up the wall every 6” from the top of the foundation bottom row. This will act as your guideline. Continue until the entire wall is covered, ensuring that the last layer is flush with the ceiling. Trim any overlapping excess at the top of the wall and the sides of the wall with a sharp box cutter in a solid fluid motion, following the crease where the ceiling meets the wall and the wall meets the corner.
- Voilà, you have a pretty, yet scholarly backdrop. Hang a rustic wooden frame and lean a white, chalk-painted wooden ladder against the wall to finish the look and your guests will be riveted. It’s definitely a story in the making.